2.1 Payment v2 Environment Setup
HashNut Payment v2 is a web3-based payment system supporting ETH, BSC, Tron, and Polygon chains.
Browser Requirements
Install browser plugins before using Payment v2:
- EVM chains (ETH, BSC, Polygon): MetaMask plugin
- Tron: TronLink plugin
- Browsers: Chrome, Firefox, Safari, Edge (latest versions)
2.2 Login Options
Payment v2 offers two login methods.
Option A: Crypto Wallet Login (Recommended)
Step 1: Visit Login Page
Go to: https://testnet.hashnut.io/login
Step 2: Connect Wallet
Click "Connect Crypto Wallet" tab (default selection)
Click "Connect Wallet" button
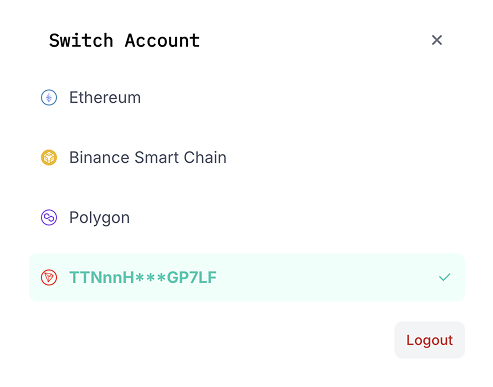
Step 3: Select Network
Choose your network:
- Ethereum (Mainnet/Testnet)
- BSC (Binance Smart Chain)
- Polygon (Matic Network)
- TRON (TRX Network)
Step 4: Sign Message
Your wallet will prompt for message signing.
Click "Sign" to authenticate.
Step 5: Access Dashboard
You'll be redirected to the onboarding flow.
Option B: Email Login
Step 1: Switch to Email Tab
Click "Email Login" tab
Step 2: Enter Credentials
Enter:
- Business email address
- Password
Click "Continue with Email"
Step 3: Complete Authentication
System validates credentials and redirects to onboarding flow.
Troubleshooting
Wallet Issues
- "Wallet Not Detected": Install and enable browser extension
- "Wrong Network": Switch to correct network in wallet
- "Transaction Failed": Check gas balance and network congestion
Solutions
- Refresh page and retry
- Clear browser cache
- Update wallet extension
- Check network connectivity
Next Steps
After login:
- Create Smart Contract - Deploy payment contract
- Set Up API Keys - Configure API access
- Configure Address Pool - Set up payment addresses
- Test Payment Flow - Verify setup works